This video blog will give you an inital overview to A3 Practical Problem Solving – Step 7 Check Results. This is an 8 part mini series on the A3 8 Step Practical Problem Solving method. We have already covered:-
Step 1 – Problem Clarification
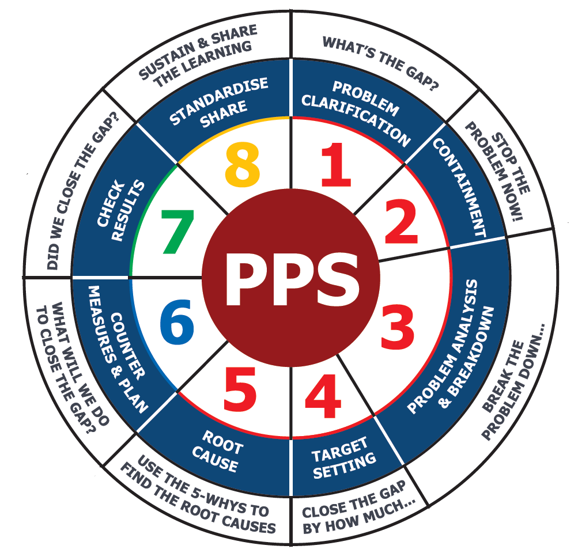
A3 Practical Problem Solving – Step 7 Check Results
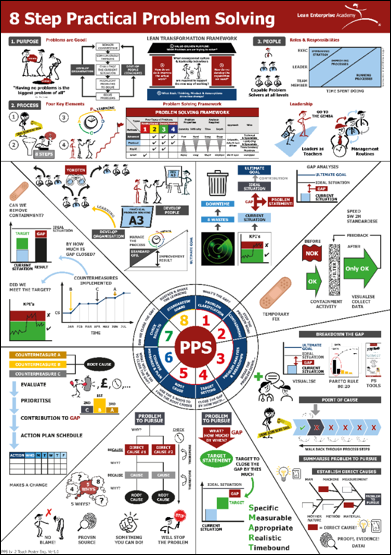
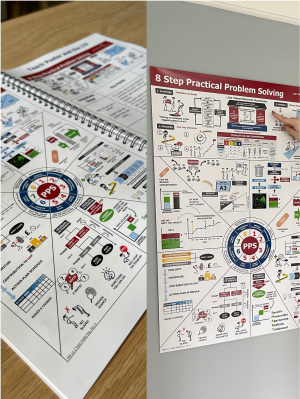
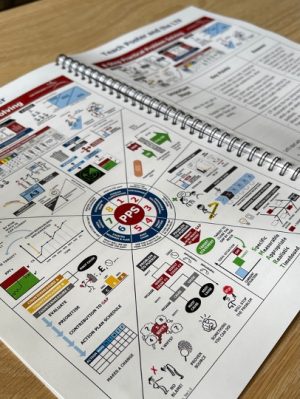
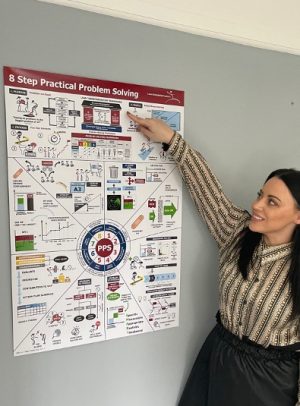
The video is presented by Peter Watkins a Senior Coach at LEA , who explains the key points using a Visual Teach Poster.
The top half of our Teach Poster focuses on the Purpose, Process & People of Practical Problem Solving. This is covered in our FREE Skill Level 1 course on A3 Practical Problem Solving – ACCESS HERE
This blog series concentrates on the lower half of the Visual Teach Poster , which covers the 8 step method based on Toyota Business Practice.
Play the Video Overview for A3 Practical Problem Solving – Step 7 Check Results
Video is played best when watching in Full Screen Mode
Key Learning Points from the Video
How do you Check Results?
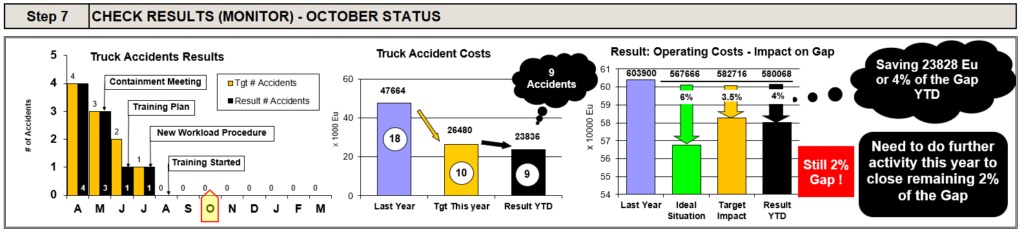
Example of Step 7 – Check Results
Ongoing measurement enables us to understand the impact of countermeasures
Use measures identified in step 4 – Target Setting

Evaluate Results & Counter Measure Process Effectiveness
Always “Go See” to verify and grasp the real situation
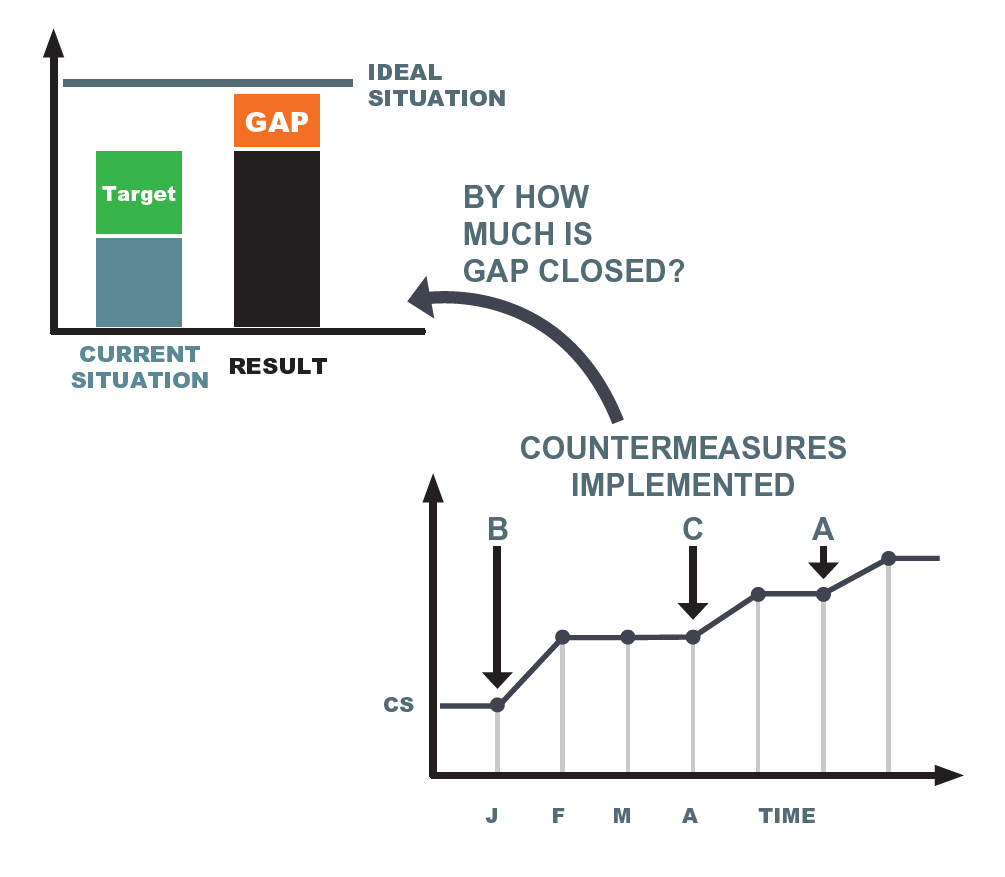
Ask :-
By how much did we close the Gap?
What else do we need to do?
Do we need to solve more Problems to close the Gap to Ideal State ?
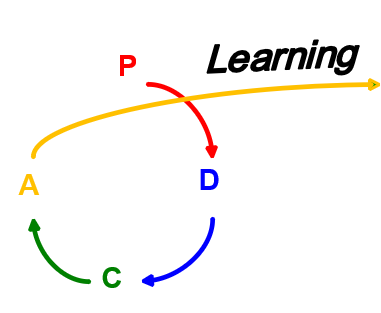
Implementing Countermeasures should follow P.D.C.A Logic
Countermeasures are not solutions – there are a PDCA process of experiment & learning. Trying out something new to make a change and address the Root Causes of the “Problem to Pursue”
If you have followed steps 1- 6 of the problem solving method correctly, then the countermeasures should have a good impact on the GAP
Ensure you are following the PDCA Logic to implement countermeasures, If countermeasures have negative impact then we need to do more study / learning
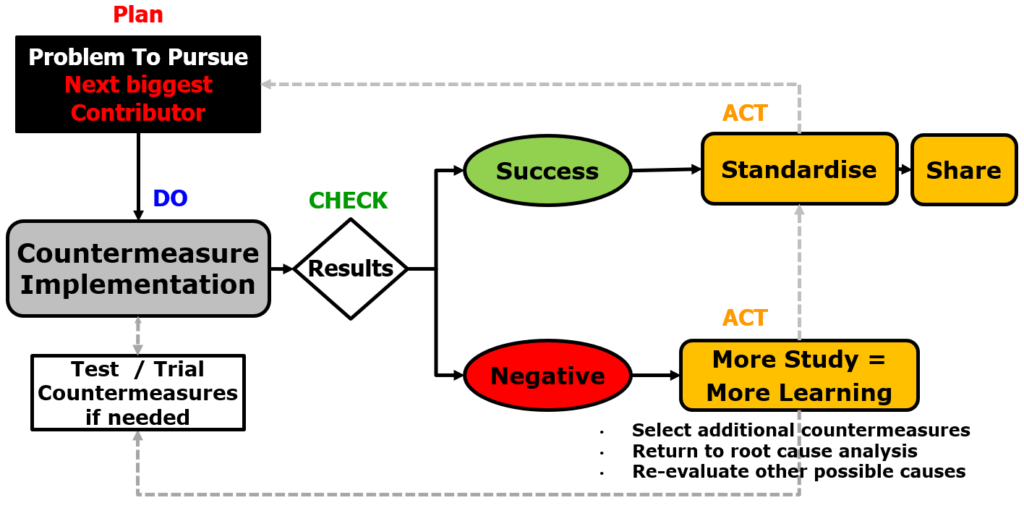
Evaluate Results from the three key viewpoints: The Customer’s, The Organisations and Your Own
Understand the factors behind the success or failure
Summarise any other benefits and learnings gained from your problem solving activity
Evaluate the overall results, and the processes used, then share the evaluation with involved members
A3 Practical Problem Solving – Step 7 Check Results
Helpful hints on this step:-
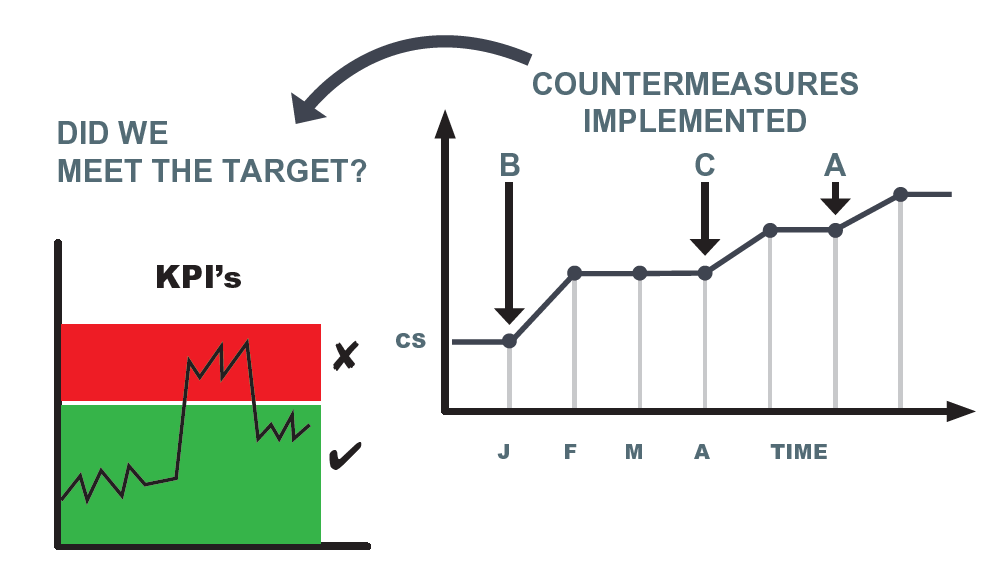
Example Showing Countermeasure Implementation Against Target
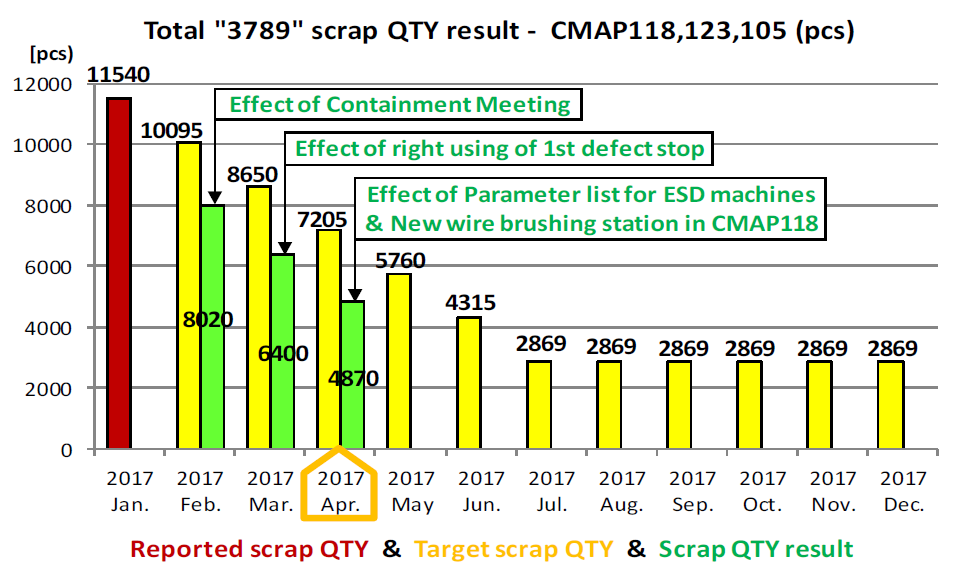
Make sure you know what you are changing is improving the process or solving the problem?
Check & Monitor at each point of countermeasure implementation against plan
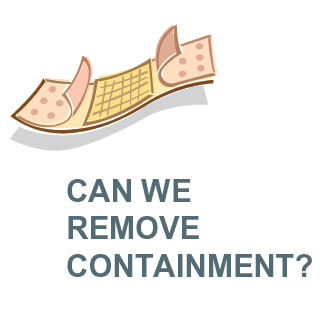
Have countermeasures been effective, can we remove containment without incident to process customer
If we don’t remove it becomes part of the process and waste!

At this stage you will need to challenge if you can remove any containment that was put in place
Containment is extra cost and waste i.e extra time , management , resources etc – not originally planned into service or product value proposition

Reviewing & sharing results with others can bring new thinking and ideas to help achieve your Ideal Situation & Ultimate goal
Never give up and act persistently with PDCA thinking- Tenacity is a key trait of a good problem solving
A3 Practical Problem Solving – Step 7 Check Results
Related Courses and Recommended Reading
We have gathered together some links below for selected courses, books and articles if you want to learn more about A3 Problem Solving.
-
 8 Step Practical Problem Solving Bundle – Teach Poster & Facilitation Guide£64.99
 -
 A3 8 Step Practical Problem Solving Facilitation Guide£19.99
 -
 8 Step Practical Problem Solving Teach Poster£49.99
 -
 8 Step Practical Problem Solving Delegate Workbook£19.99
 -
 Muda – The 8 Wastes – Skill Level 1: Knowledge Course£9.99
 -
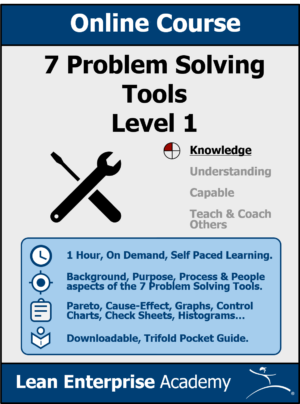 7 Problem Solving Tools Skill Level 1: Knowledge£9.99
 -
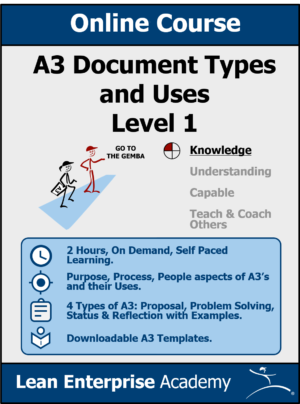 A3 Document Types & Uses – Skill Level 1: Knowledge£9.99
 -
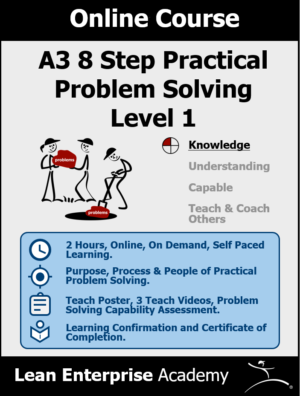 A3 8 Step Practical Problem Solving – Skill Level 1: Knowledge£0.00
 -
 A3 8 Step Practical Problem Solving – Skill Level 2: Understanding£50.00
 -
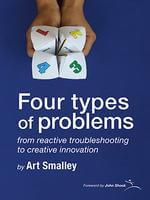 Four Types of Problems£42.00
 -
 Managing to Learn£44.00
 -
 Understanding A3 Thinking£23.30
 -
 The Toyota Way Fieldbook£26.99